Most burgers are garbage. They’re marred by crustless sears, unmelted picnic-ish American cheese, and low quality, overcooked, and undersalted beef. And despite a tasteless former friend’s claims to the contrary, ketchup does not add enough salt to a burger, nor do the cheese and bun.
For years, my default order at most restaurants was a cheeseburger, medium. The burgers usually came with some perfunctory wet off-season tomato slices, a pile of lettuce, and red onion. On a good day, there’d be a pickle too, though it was usually a spear, which is completely useless for a burger. I fell into a lot of meatloafian burgers too—ground beef bound together by egg, bread crumbs, and ketchup. They’re absolutely disgusting, but it came with the territory.
The sole meritable quality of most of the burgers I ordered was that they met the basic definition of a cheeseburger: there was cooked beef, cheese, and bread. But they were a burger and even a bad burger is still good, right? Wrong. If you believe that, return to the first paragraph.
Eventually, I had one disappointing burger too many, and I vowed to stop ordering burgers, at least for a while. At this point, I order burgers sparingly; I feel like if I’m going to eat a burger (and really, red meat in general), with all of the nutritional baggage that accompanies it, I really ought to love it.
The Richard Eaglespoon Burger
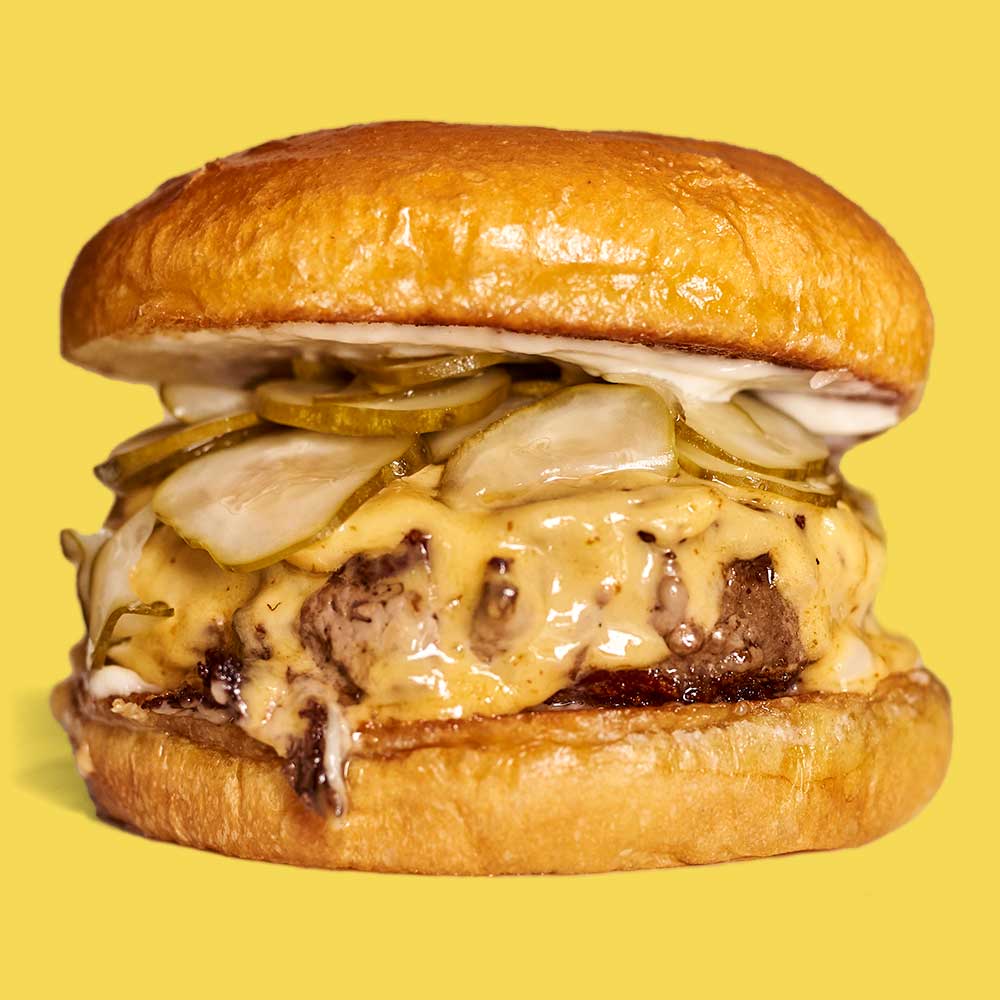
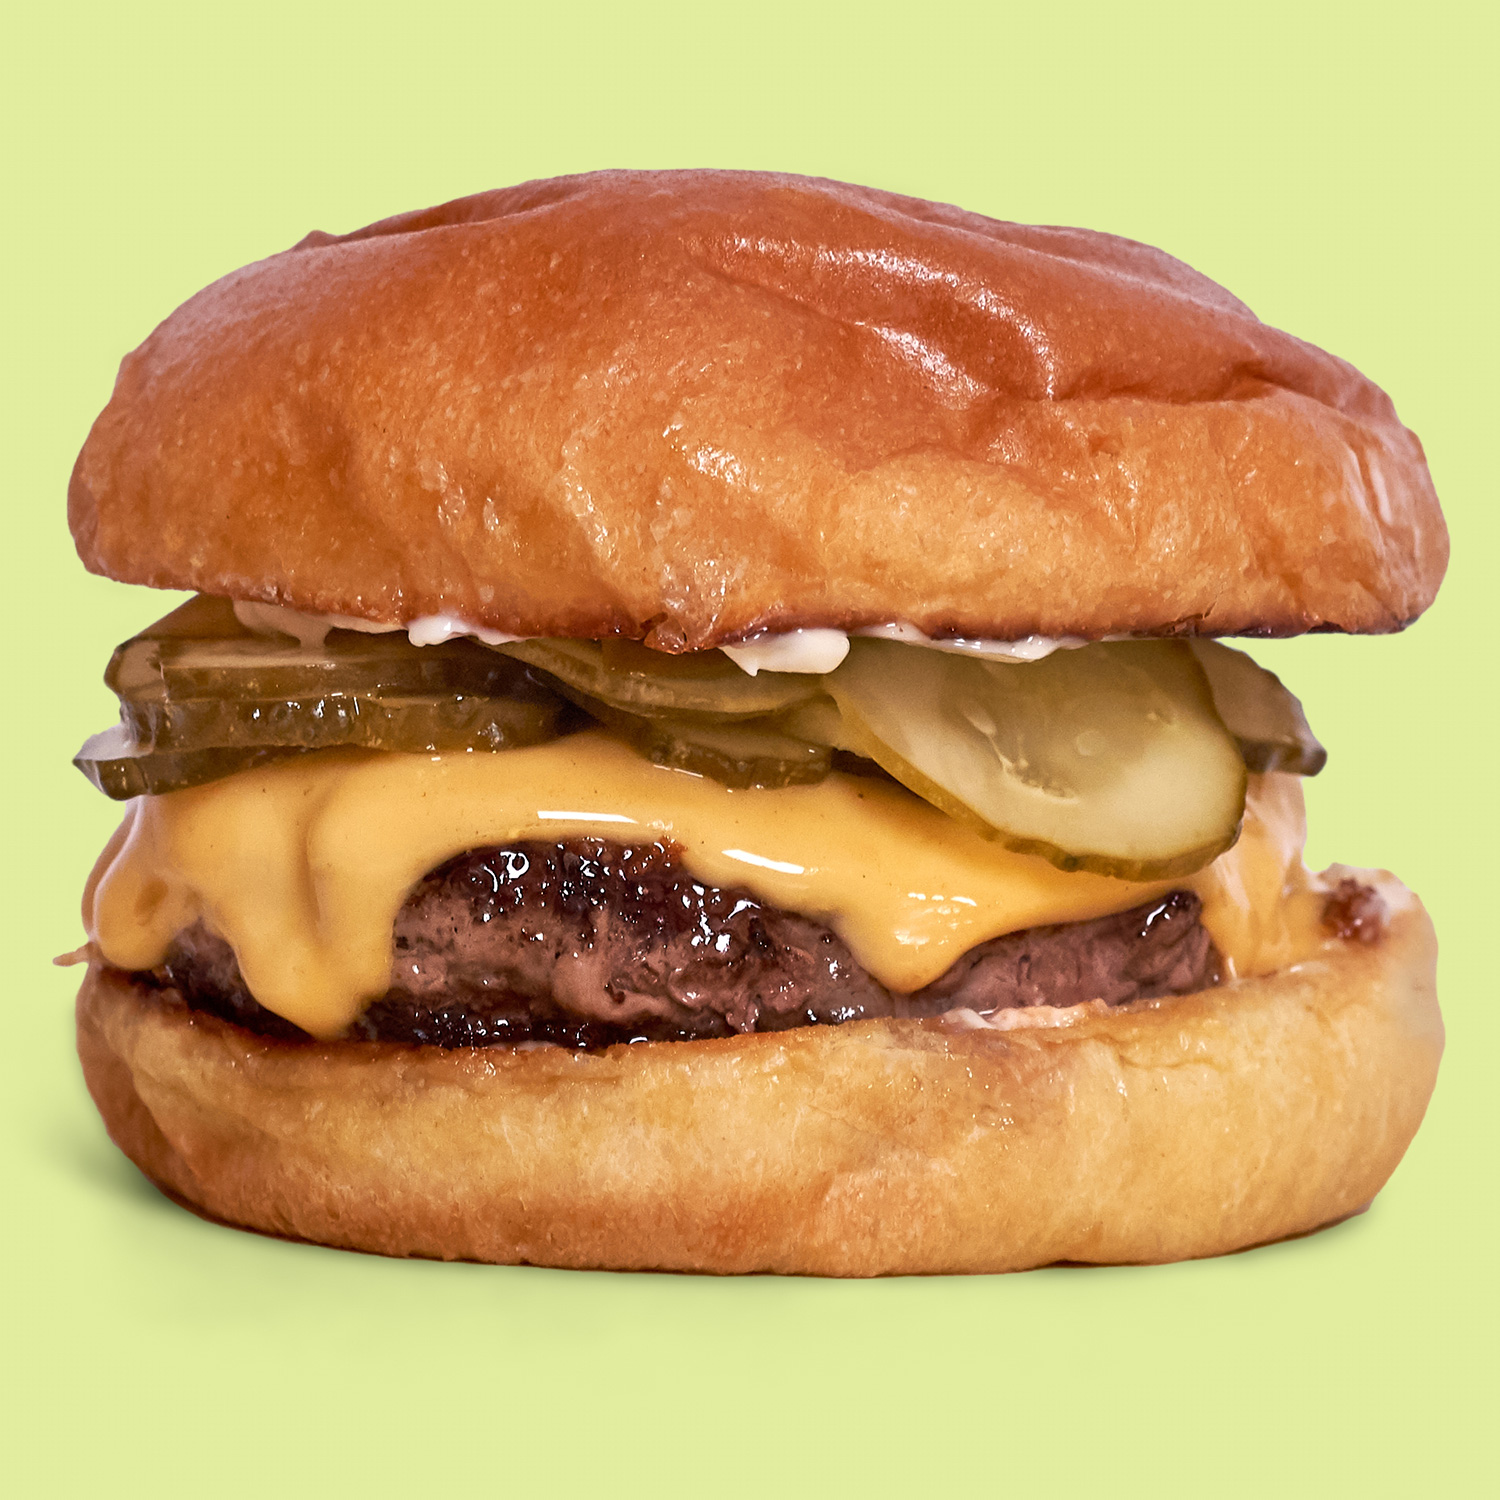
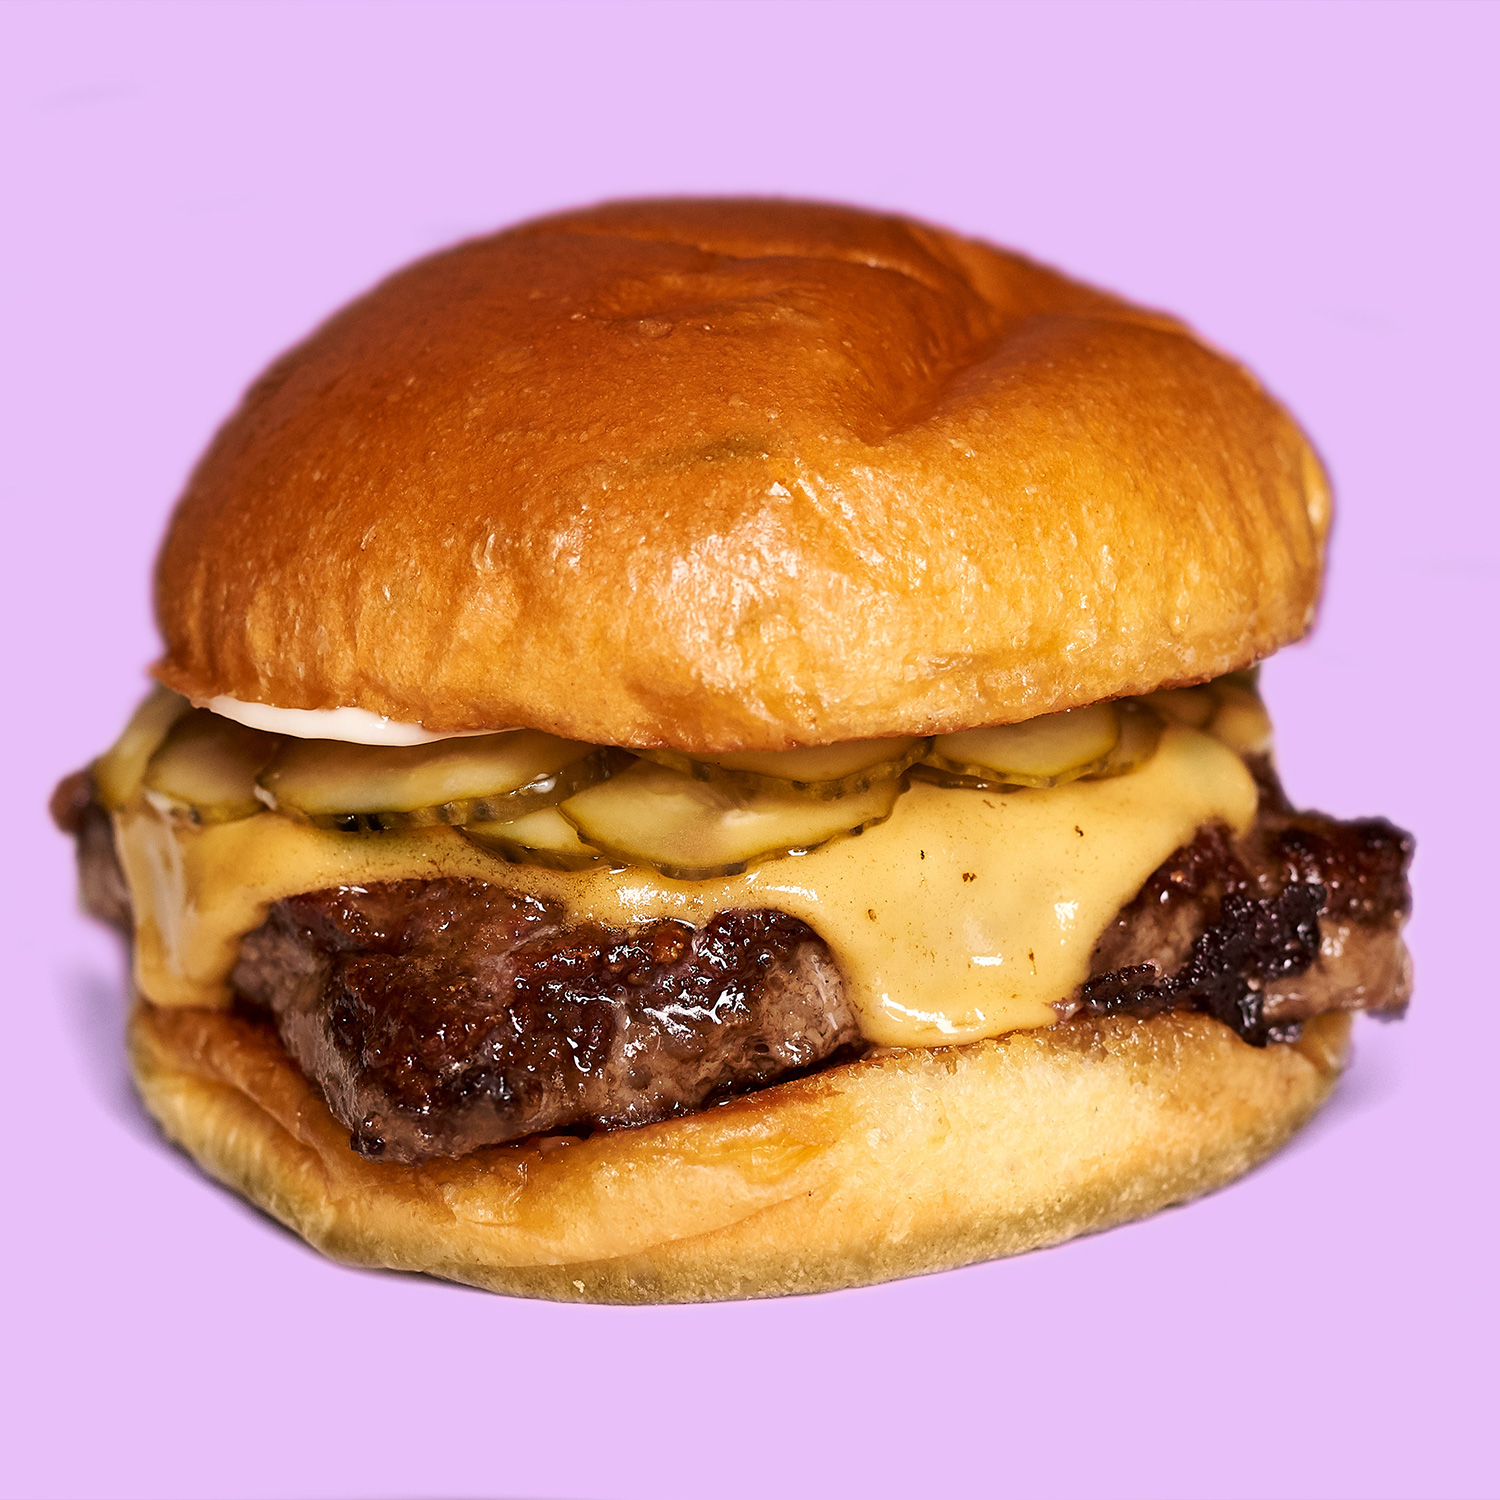
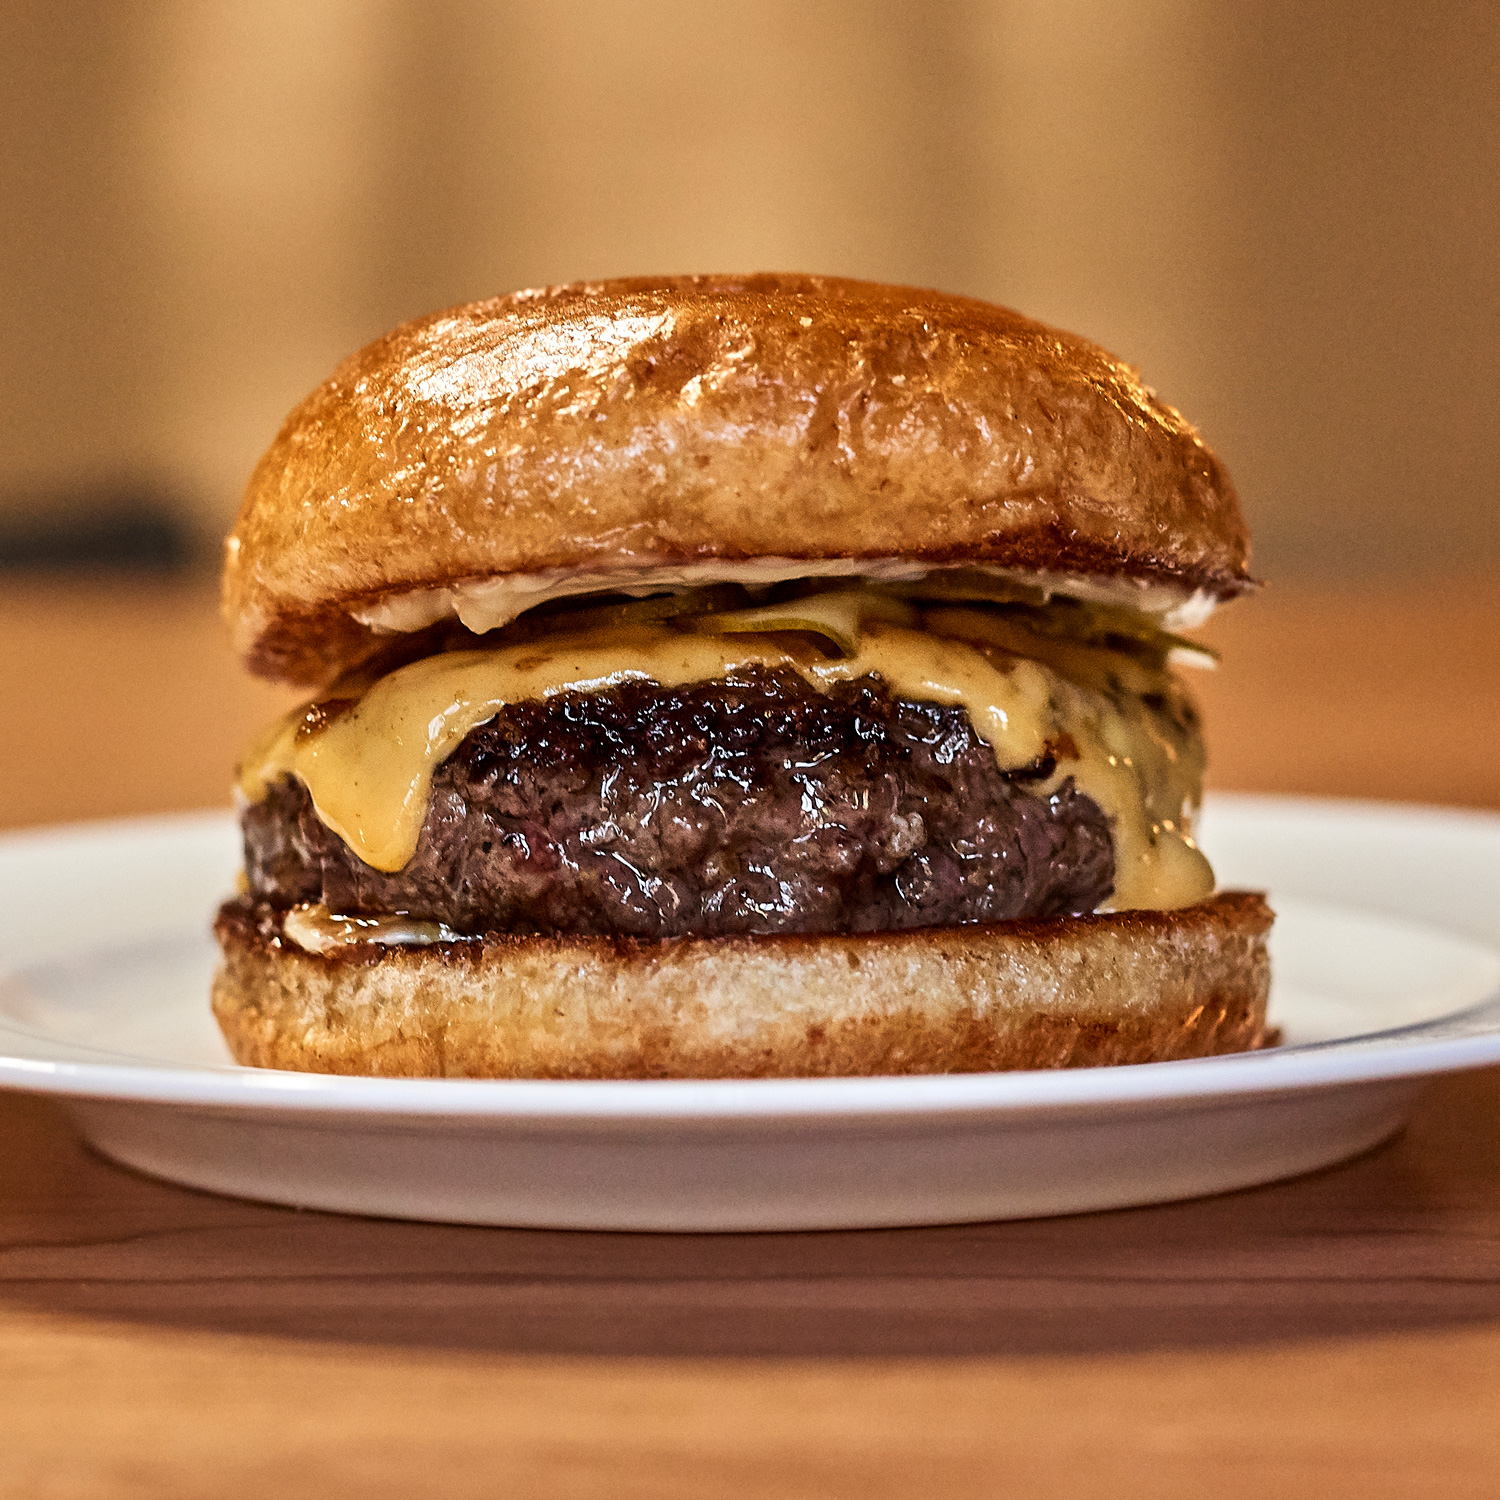
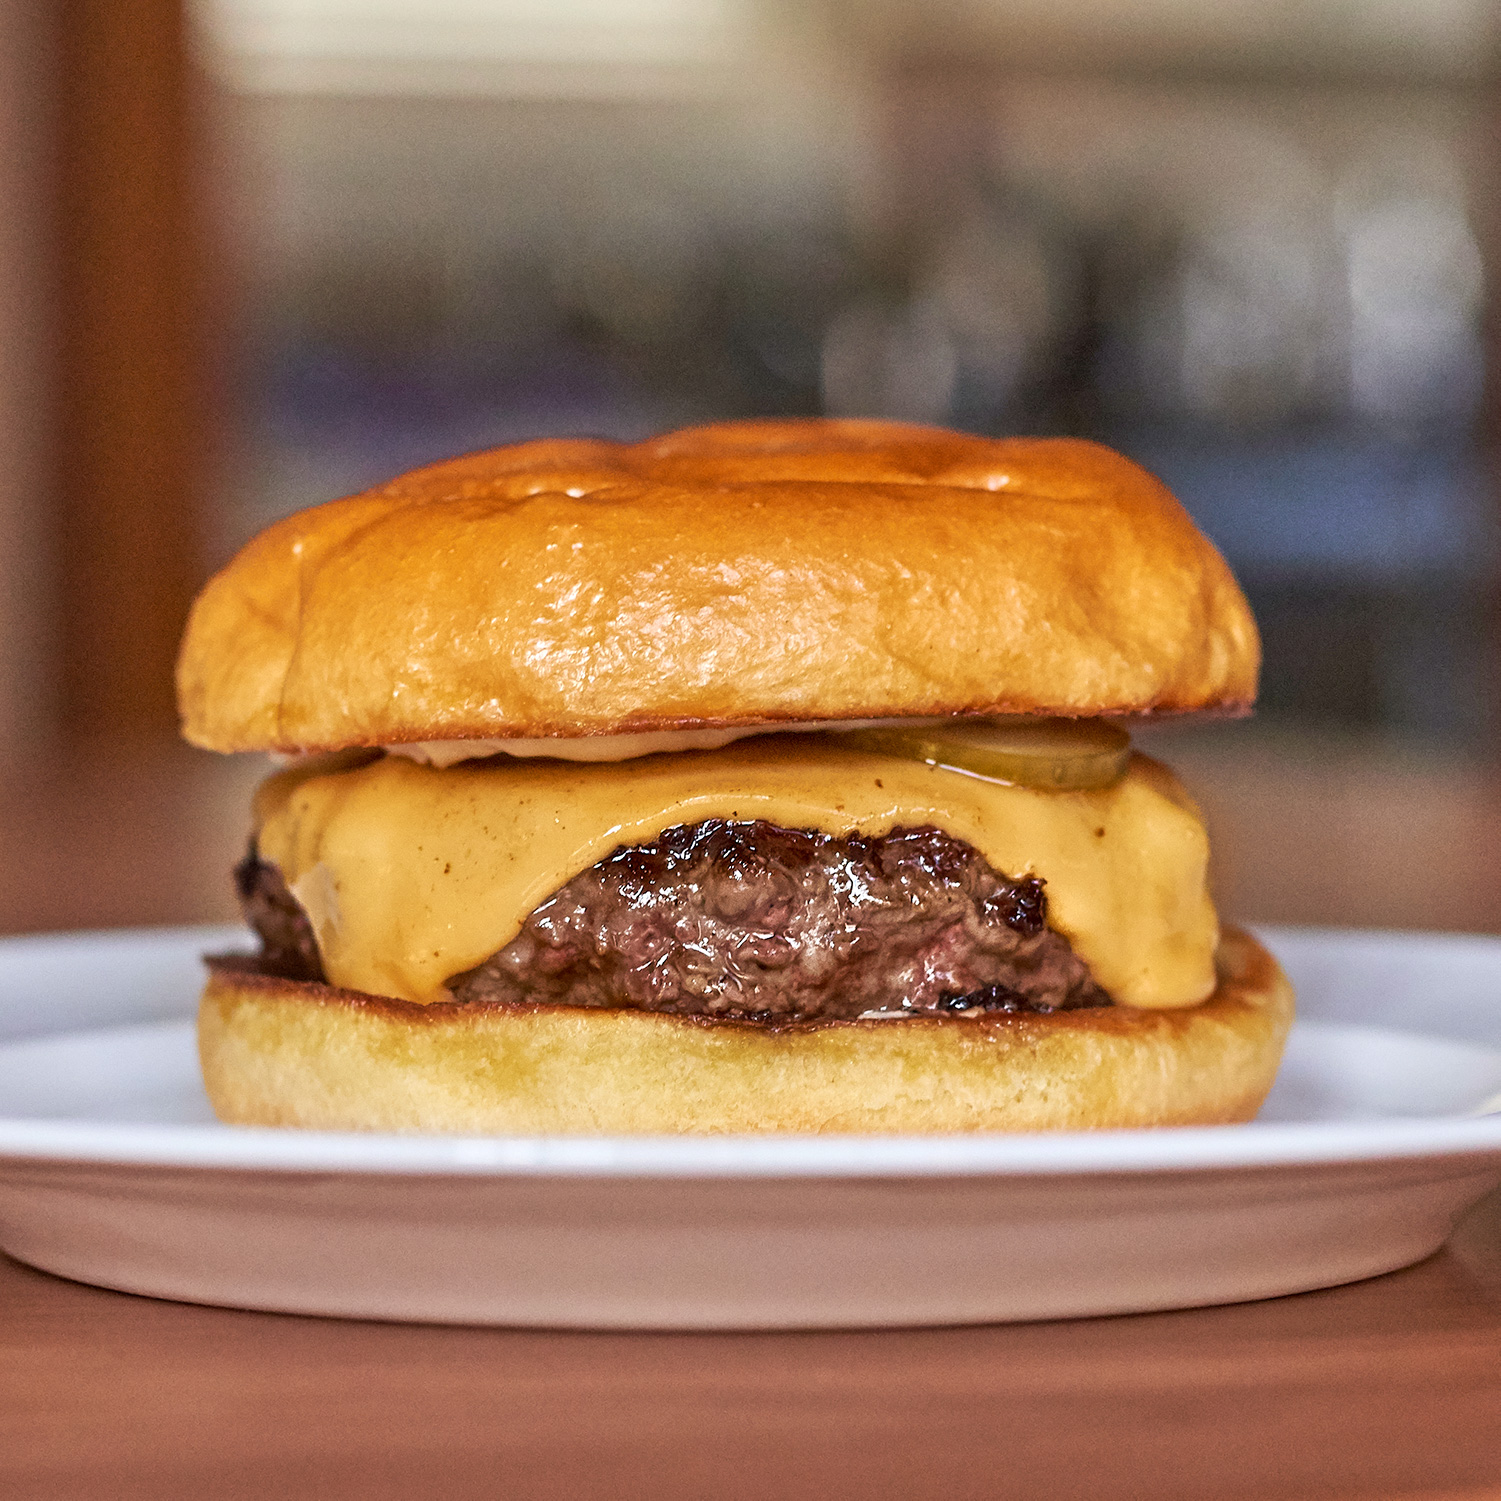
The Richard Eaglespoon burger is known for its well-salted and intensely seared beef patty. The meat is juicy, and the cheese is always melted—it’s butter basted. The burger rests once it’s done searing so it can continue to cook through without drying out, and a relatively fatty beef blend is used to further that end.
The fat contributes toward a more flavorful burger, but fat isn’t flavor: fat is potential flavor. Without salt, that potential flavor is unrealized. Salting the beef patty is critical for this burger.
A pile of thinly sliced pickles helps balance out the fattiness of the burger, and there’s usually a secret sauce, the details of which aren’t critical, but it ought to not be ketchup.
This article assumes that you will have the equipment and ingredients necessary to make the burger described herein, and I won’t provide instruction in lieu of those requirements. This isn’t Bon Appétit—I’m not writing food instruction for the lowest common denominator. Do it properly, or don’t do it at all.
Gears for extraordinary cheeseburgers
The creation of the Richard Eaglespoon burger is best aided by the equipment discussed in this section. The entirety of the equipment listed isn’t necessary to make a great burger, but it’s sufficient. Our 2019 Holiday Gift Guide will have specific descriptions and product recommendations for the equipment recommended below.
equipment
Carbon steel pans are my pan of choice for searing most proteins. They’re thinner and lighter than cast iron skillets; they’re a bit more thermally responsive, and in my experience, carbon steel pans are not nearly as bad as cast iron when it comes to even heating. Carbon steel is great at dumping energy into food efficiently, but it’s not going to retain heat like cast iron, so you’ll be counting on the power of your stovetop if you want to sear effectively with carbon steel.
On the other hand, carbon steel pans are a bit harder to season than cast iron, and unlike cast iron, they can potentially warp. You don’t need to buy a carbon steel skillet to make this burger, and you can use cast iron skillet if that’s all you have. A stainless steel pan will not transfer heat into the burger as effectively as carbon steel does, but you can use one if necessary.

The infrared (IR) thermometer is important for determining the surface temperature of your pan. It gives your temperature estimates a bit more granularity than “not hot,” “kind of hot,” and “pretty hot.” Dark matte pans like carbon steel or cast iron skillets will work well with this $15.99 IR thermometer, otherwise you’ll get a more accurate result from something like the IRK-2 from Thermoworks, which has adjustable emissivity so you can get an accurate reading from a variety of surfaces.
I’ve become a big fan of The Chef Press for searing for burgers, steaks, and the like. In the case of burgers, a press goes a long way in keeping the patty flat while cooking and maintaining good contact with the pan. The Chef Press has vents milled into it, which helps let steam escape. And they’re stackable and hangable, so they’ve become my top choice for a weighted food press. Any press will do for this burger, but this one’s my favorite.
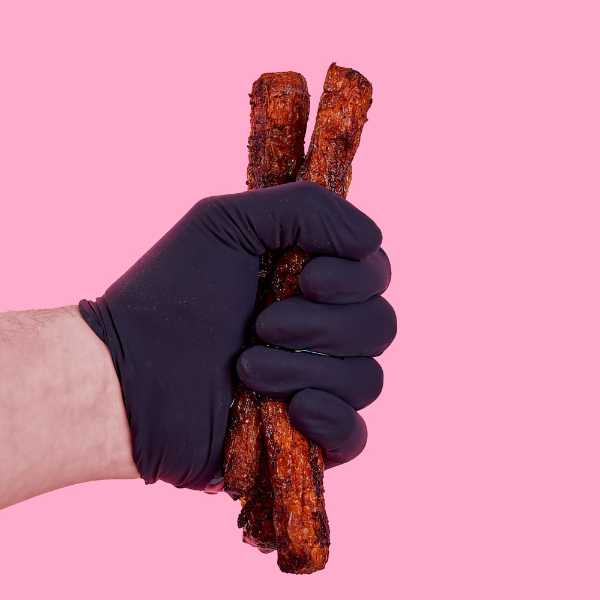
You can skip the nitrile gloves, and the resulting burger will be exactly the same. But since you’re not cooking for a YouTube video, you actually have to wash your hands after handling raw meat. The gloves will keep you from constantly washing your hands, which will save you time and keep your skin from drying out and cracking.
A fish spatula is the ideal thinness for getting under a patty and flipping it without damaging the crust. Combined with a large sauce spoon (the Gray Kunz spoon is my favorite), you have a bit of an easier time flipping patties, and it’s great for basting the patties with butter to melt the cheese.
As far as timers go, I like Thermoworks’ Extra Big & Loud, and between me and my wife we have maybe five of those timers. But really, the best timer is the one you have, and if you’re in a jam, a microwave timer or a virtual assistant can work, though my seemingly degenerative HomePod now restarts my timers ad infinitum whenever I respond with “got it.” A standalone timer like the Thermoworks is much more responsive than any microwave timer I’ve ever used, and unlike the the virtual assistants, they’re reliable and you can see the time as you cook. And with a standalone timer, you can relegate the secondary timers to side dishes.
A basic digital scale and a 4-inch ring mold are ideal for shaping your beef patties if you aren’t using preshaped patties (you can use a square mold instead, if you’re so inclined).
The Groceries
The cooking methodology is the critical component, but that needs to be supported by the ingredients. Great ingredients alone won’t the make a burger great, but mediocre ingredients will hold it back.
Ingredients
My ideal beef patty is 75 percent lean (75/25), 4 inches wide, and 1/3 lb (or 6.8oz for a square patty). All together that’s about 0.6 inches thick—thick enough to get a good crust without overcooking the interior, but not so thick that it’s difficult to eat. I’m a big fan of Schweid and Sons’s C.A.B. Butcher’s Blend and the One Percenter beef patties. It’s high quality 75 percent lean beef, and their patties are very close to my ideal size. For dry-aged beef, DeBragga offers a blend that I’ve liked a lot, and DeBragga’s Naturally Raised Ground Beef and their American wagyu blend are both excellent as well. I haven’t had good experiences with the texture of Snake River Farms’ 75 percent lean American wagyu ground beef, and I recommend against buying it.
If you want to buy your meat locally, you can try asking for 75 percent lean beef ground fresh. Chuck is a good bet (avoid unqualified “ground beef” and ground round). And whatever you do, don’t go above 80 percent lean, again, 75 perecent lean is ideal. You can grind your own beef too, if that’s something you’d like to brag about.
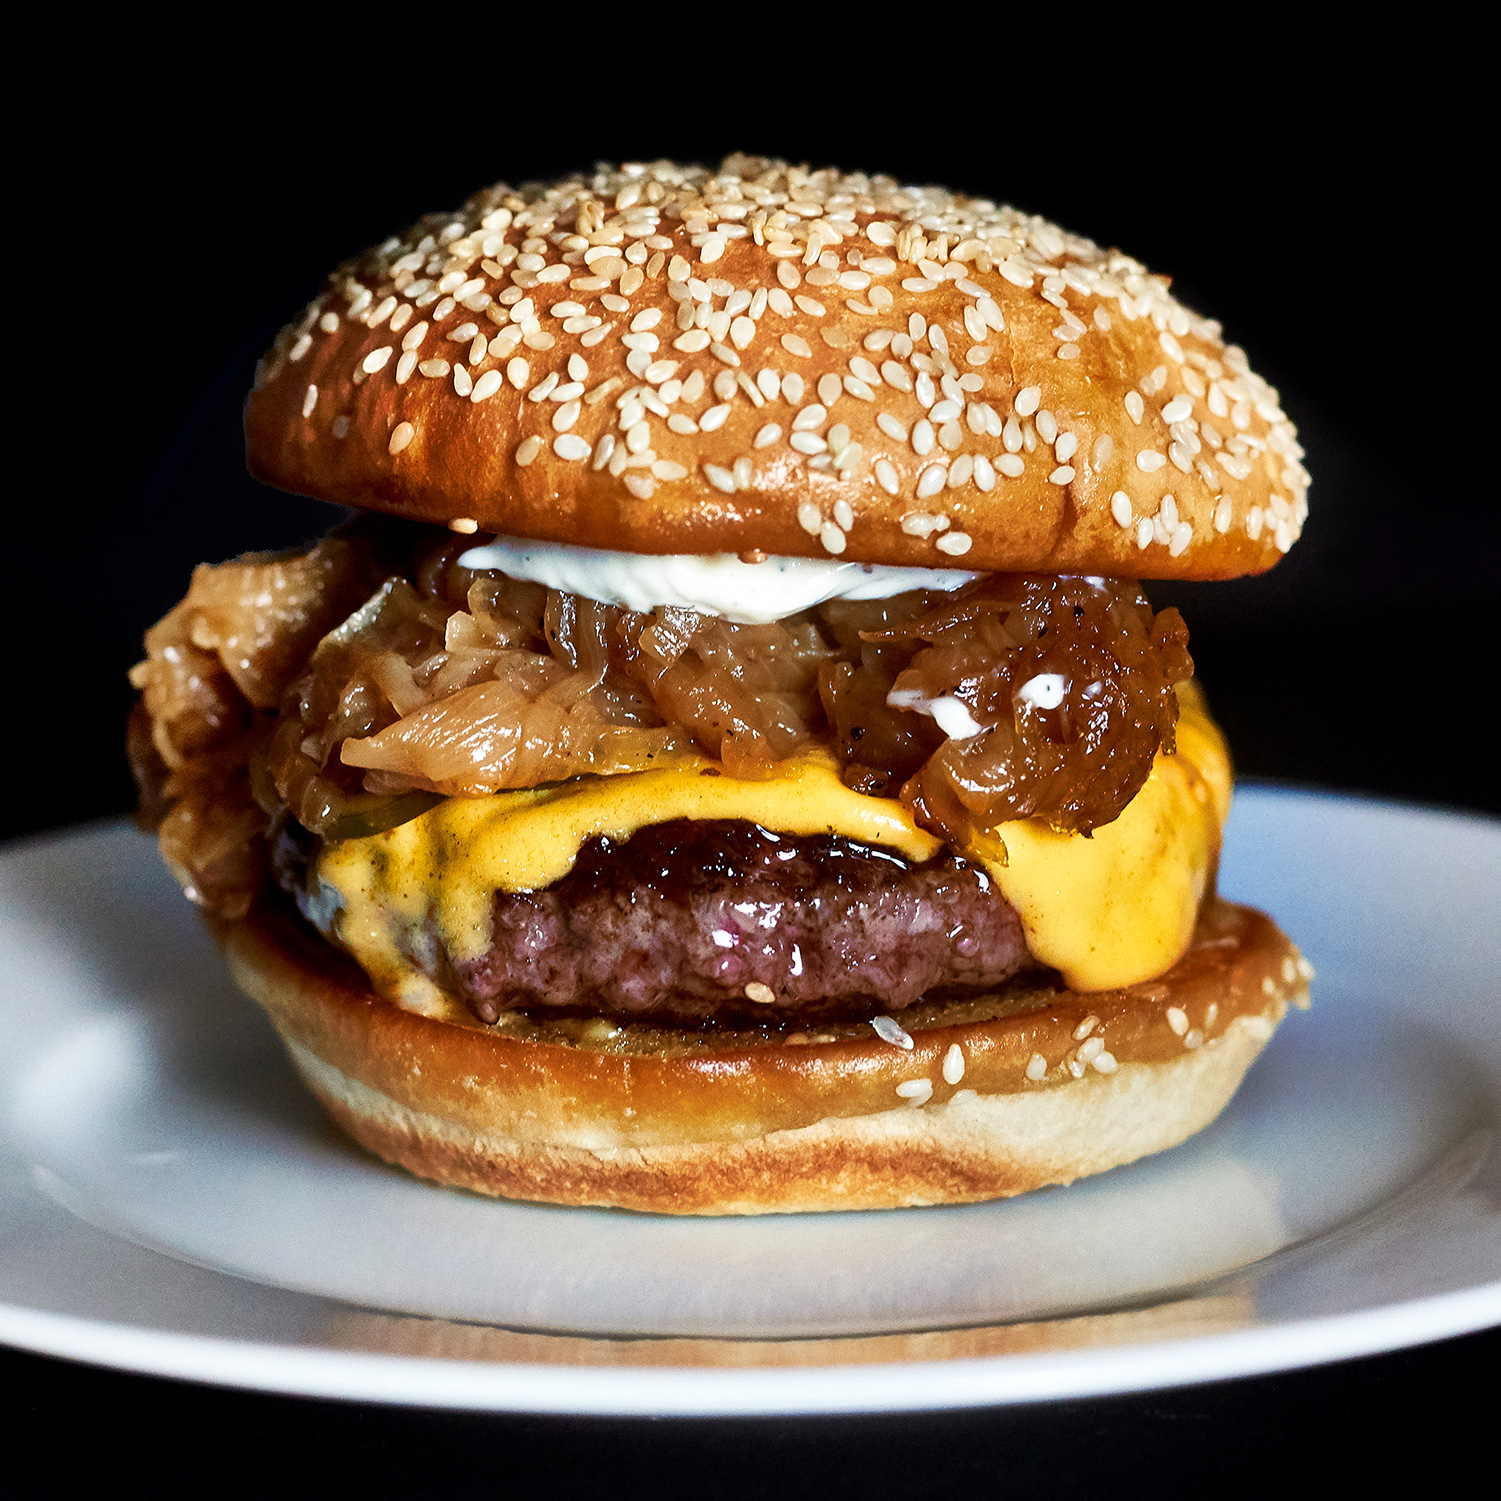
Many of my burgers used Martin’s seeded buns prior to the news of the company’s intense support of Christian nationalism, and I will not recommend the brand’s offerings given that. I’ve been happy with EuroClassic brioche burger buns, and they’re not overly sweet. If you have a bun that you love, feel free to use it—bun quality, even within the same brand, can vary by locale. Most buns are well served by being toasted with butter in a pan, but some buns, especially brioche, can especially become overly soft when toasted like this. Rest your buns briefly on a cooling rack after toasting them to mitigate this effect.
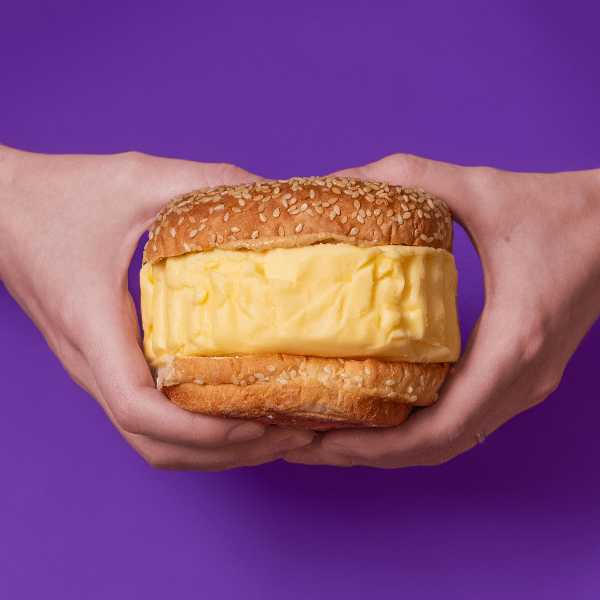
Kraft Deli Deluxe American cheese works well for burgers, as does a good American cheese sliced at your local market’s deli counter. Kraft singles will work fine too if that’s all you’ve got.
If you’re feeling particularly pretentious, you can make your own American cheese with the help of alleged patent troll and author, Nathan Myhrvold, via Saveur. I suggest using water rather than wheat beer, and you can skip the gruyere and just use cheddar—whatever you prefer. With all that said, you don’t need to get fancy with your burger cheese. I’d rather eat melted Kraft Singles on a cheeseburger than unmelted homemade American cheese. If you can melt your American cheese, you’ll already have a leg up on most burgers out there.
Pickles are great for contributing some acid to balancing out the fat in the burger. Pickles in the refrigerated section of your grocery store are generally my strong preference for texture and taste. Get whole pickles, and slice them very thin with a knife or mandoline. I use Claussen.
My strong recommendation is to use Diamond Crystal Kosher Salt rather than Morton’s kosher salt. Morton’s kosher salt has an anti-caking agent added, while Diamond Crystal’s offering does not. And Morton’s kosher salt is significantly saltier than Diamond Kosher Salt for the same volume. If you can find Diamond kosher salt, get that. If you can’t find Diamond Crystal Kosher Salt, I’d buy Maldon Sea Salt and use that slightly crushed rather than buy Morton’s.
Making it great
We’ve gone through the necessary equipment and the ingredients, and now you’re almost ready to start making it great. With any luck you won’t be reading this for the first time in the minutes just before cooking the burger. But either way, take a deep breath and relax. If there are complaining guests, tell them that if they’re meant to eat, they will eat.
Steps 1 and 2 described below are your mise en place—those steps describe your preparation and organizational steps that will facilitate your cooking process. Having your ingredients ready and your cooking equipment organized and accessible will make cooking much more efficient and less stressful.
Imagine, you’re in the final stretch your cook; your timer is going off, and you realize that there isn’t a plate for the finished burger. Or, it’s time to add the cheese (and yes, there’s a timer going off this time too), but the cheese is still in your fridge in its original packaging. That’s the stuff of madness.
You might be thinking of a past stressful cooking incident: “I was in a rush—I didn’t have time to get everything ready,” but that’s a bad excuse. It’s at least as quick to prepare your ingredients and your equipment before you cook as it is to do it haphazardly while you’re in the middle of cooking. And without mise en place, you throw task coherence out the window, which adds the overhead of gathering equipment and ingredients in the middle of your cooking routine.
Internalizing the concept of mise en place and putting it into practice will go a long way to combat cooking stress, and it will empower you to improve your cooking both in scope and quality.
Deferred Salt
When this recipe was originally published, it described salting the burger patty immediately before searing. As soon as meat is salted, it draws moisture out, and before a sear can be established, that moisture must be evaporated away from the surface. More moisture has a deleterious effect on crust development—moisture will slightly pool in the inner center of the patty, and so you’ll have a very intensely seared outer rim, but the interior will be slightly less crusty. And thus there’s a problem.
When experimenting with smash burgers and only salting one side of the meat (they’re so thin you really don’t need to salt more than one side if you salt generously) I noticed the impact of the moisture from salt on crust development. I started experimenting with the salt on this burger for a while, deferring the salt until after the sear was established for one of the sides.
Now the method for cooking this burger has changed slightly, so that as soon as you’re done searing one side of the patty, you salt that cooked side. The crusts were great before, but this makes them just a bit better than before.
I only defer salt on the first side of the patty that gets cooked. You can experiment with deferring the salt on both sides, but you’ll likely end up needing to salt that side after the burger is finished cooking and while it rests, which likely means flipping the cheese upside down. Only you can decide if it’s worth it.
- If your beef isn’t preshaped into patties, weigh out the beef into 1/3 lb (151g) portions (or 6.8oz/193g portions for a square patty), and press the meat gently into the mold until it spreads out to the edge. Flip the mold and meat, and press the gently beef again until both sides of the patty are relatively flat. Let the patties chill in the fridge for at least a half hour before it’s time to cook (you can also form them the day before). If you have extra meat, you can freeze the formed beef patties, just be sure to defrost them in the fridge prior to cooking in order for the suggested cook times to hold true. Do not salt your beef patty at this stage.
- Cut your pickles thinly with a knife or with a mandoline (be careful and use a guard), and prepare your secret sauce. Get your butter and cheese slices ready, and get all of your equipment in place—that means get your spoon, fish spatula, press, and IR thermometer ready—do not wait until the last minute. If you’re going to be using gloves for the cook, have your nitrile gloves nearby.
- Put some butter in your skillet, and heat the skillet to approximately 400°F (check the temperature with the IR thermometer) to toast your buns. Toast for approximately 45-60 seconds, or until the buns are appropriately browned, and place them toasted side up on a plate. If you’re in a serious hurry, you won’t destroy your burger if you avoid toasting it.
- Apply your sauce to the top bun and spread it thin with a knife. Note that you can sauce the bottom bun, but in doing so, there’s a risk of ending up with too much moisture on the bottom half of the finished burger, depending on the meat, bun, and other factors.
- Put some oil in your pan, and heat your pan up to approximately 500°F (again, check that you’re in this neighborhood with an IR thermometer).
- Place an unsalted patty onto your 500°F skillet, and put your press on top of the patty, if you’re using one (just place it gingerly, do not press the meat with active force).
- Cook for two and a half minutes. You can increase this to three minutes based on preference, but I would start at two and a half minutes.
- Remove the press, salt the unsalted side of the patty uniformly and generously, and flip the patty. Salt the seared side of the patty uniformly and generously. The surface of the press was in contact with raw meat, so you can place it directly on the hot pan to sanitize it, use a clean press, or you can count on the heat from butter basting the burger to kill bacteria on the patty surface. Be your own rabbi here. Regardless, place a press on top of the patty.
- At this point, the patty should continue to cook for another two and a half minutes. After one and a half minutes, remove the press, and place some butter in your pan, and begin basting the burger patty briefly by tilting the pan toward you and spooning the fat that pools up over the patty. Add the American cheese, and baste the cheese until the corners of the cheese slice start to cling to the patty.
- When the patty is done cooking, remove it from your pan and place it on the bottom bun. Add the sliced pickles on top of the burger, and try to distribute them across the burger surface so that they lay relatively flat. The burger needs to rest, assembled, for five minutes so it can continue to cook through. Do not cut the burger open. Do not taste the burger. Wait. If applicable, keep your mother-in-law from slicing her burger in half. Once the five minutes have elapsed, eat the burger.
Next up in The Secret of My Success
The Latest

Tony Liu and Lindsey Schuyler’s abject failure in reckoning with antisemitism.